selector Drawable은 상태에 따라 달라지는 Drawable로써, 상태는 enabled, selected 등이 있습니다. 버튼 등과 같은 UI에 적용함으로써 해당 버튼이 비활성되었을때, 선택되었을때에 따른 상태를 시각적으로 사용자에게 전달할 수 있습니다.
만약 상태를 enabled와 selected에 대해 구분한다면 총 3가지 Drawable이 필요한데, 기본 상태도 포함되어야 하기 때문입니다.
selector Drawable의 정의는 다음 예와 같습니다.
<?xml version="1.0" encoding="utf-8"?>
<selector xmlns:android="http://schemas.android.com/apk/res/android">
    <item
        android:state_enabled="false"
        android:drawable="@drawable/ic_add_disabled" />

    <item
        android:state_selected="true"
        android:drawable="@drawable/ic_add_selected" />

    <item
        android:drawable="@drawable/ic_add" />
</selector>
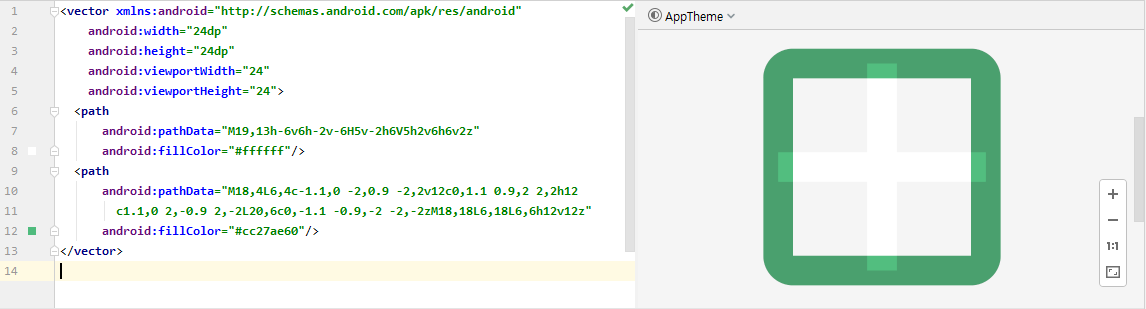
selector를 구성하는 item의 순서가 중요한데, 가장 처음 해당되는 상태가 선택되기 때문입니다. 각 item에 대한 Drawable 중 enabled에 대한 ic_add_disabled.xml의 예시는 다음과 같습니다.
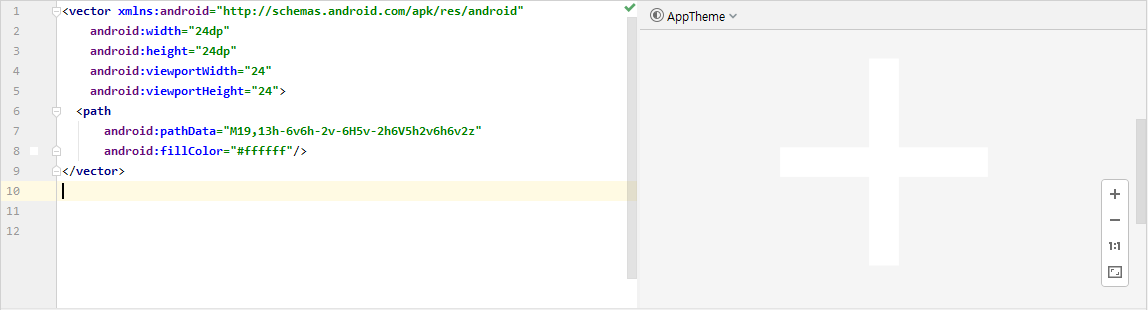
그리고 selected에 대한 ic_add_selected.xml의 예시는 다음과 같습니다.
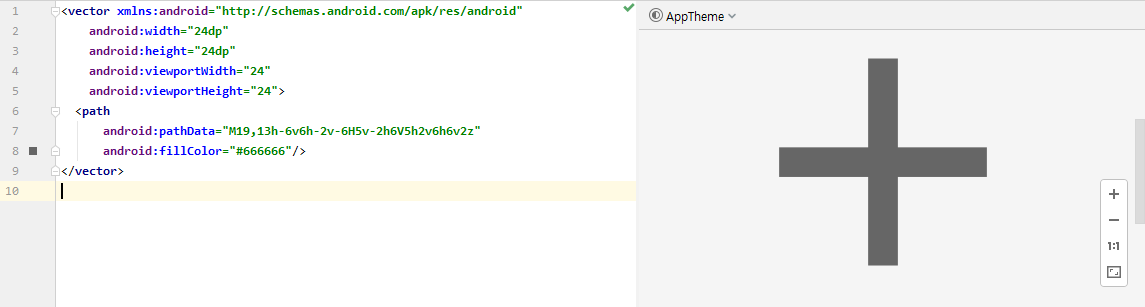
마지막으로 기본 상태에 대한 ic_add.xml의 예시는 다음과 같습니다.