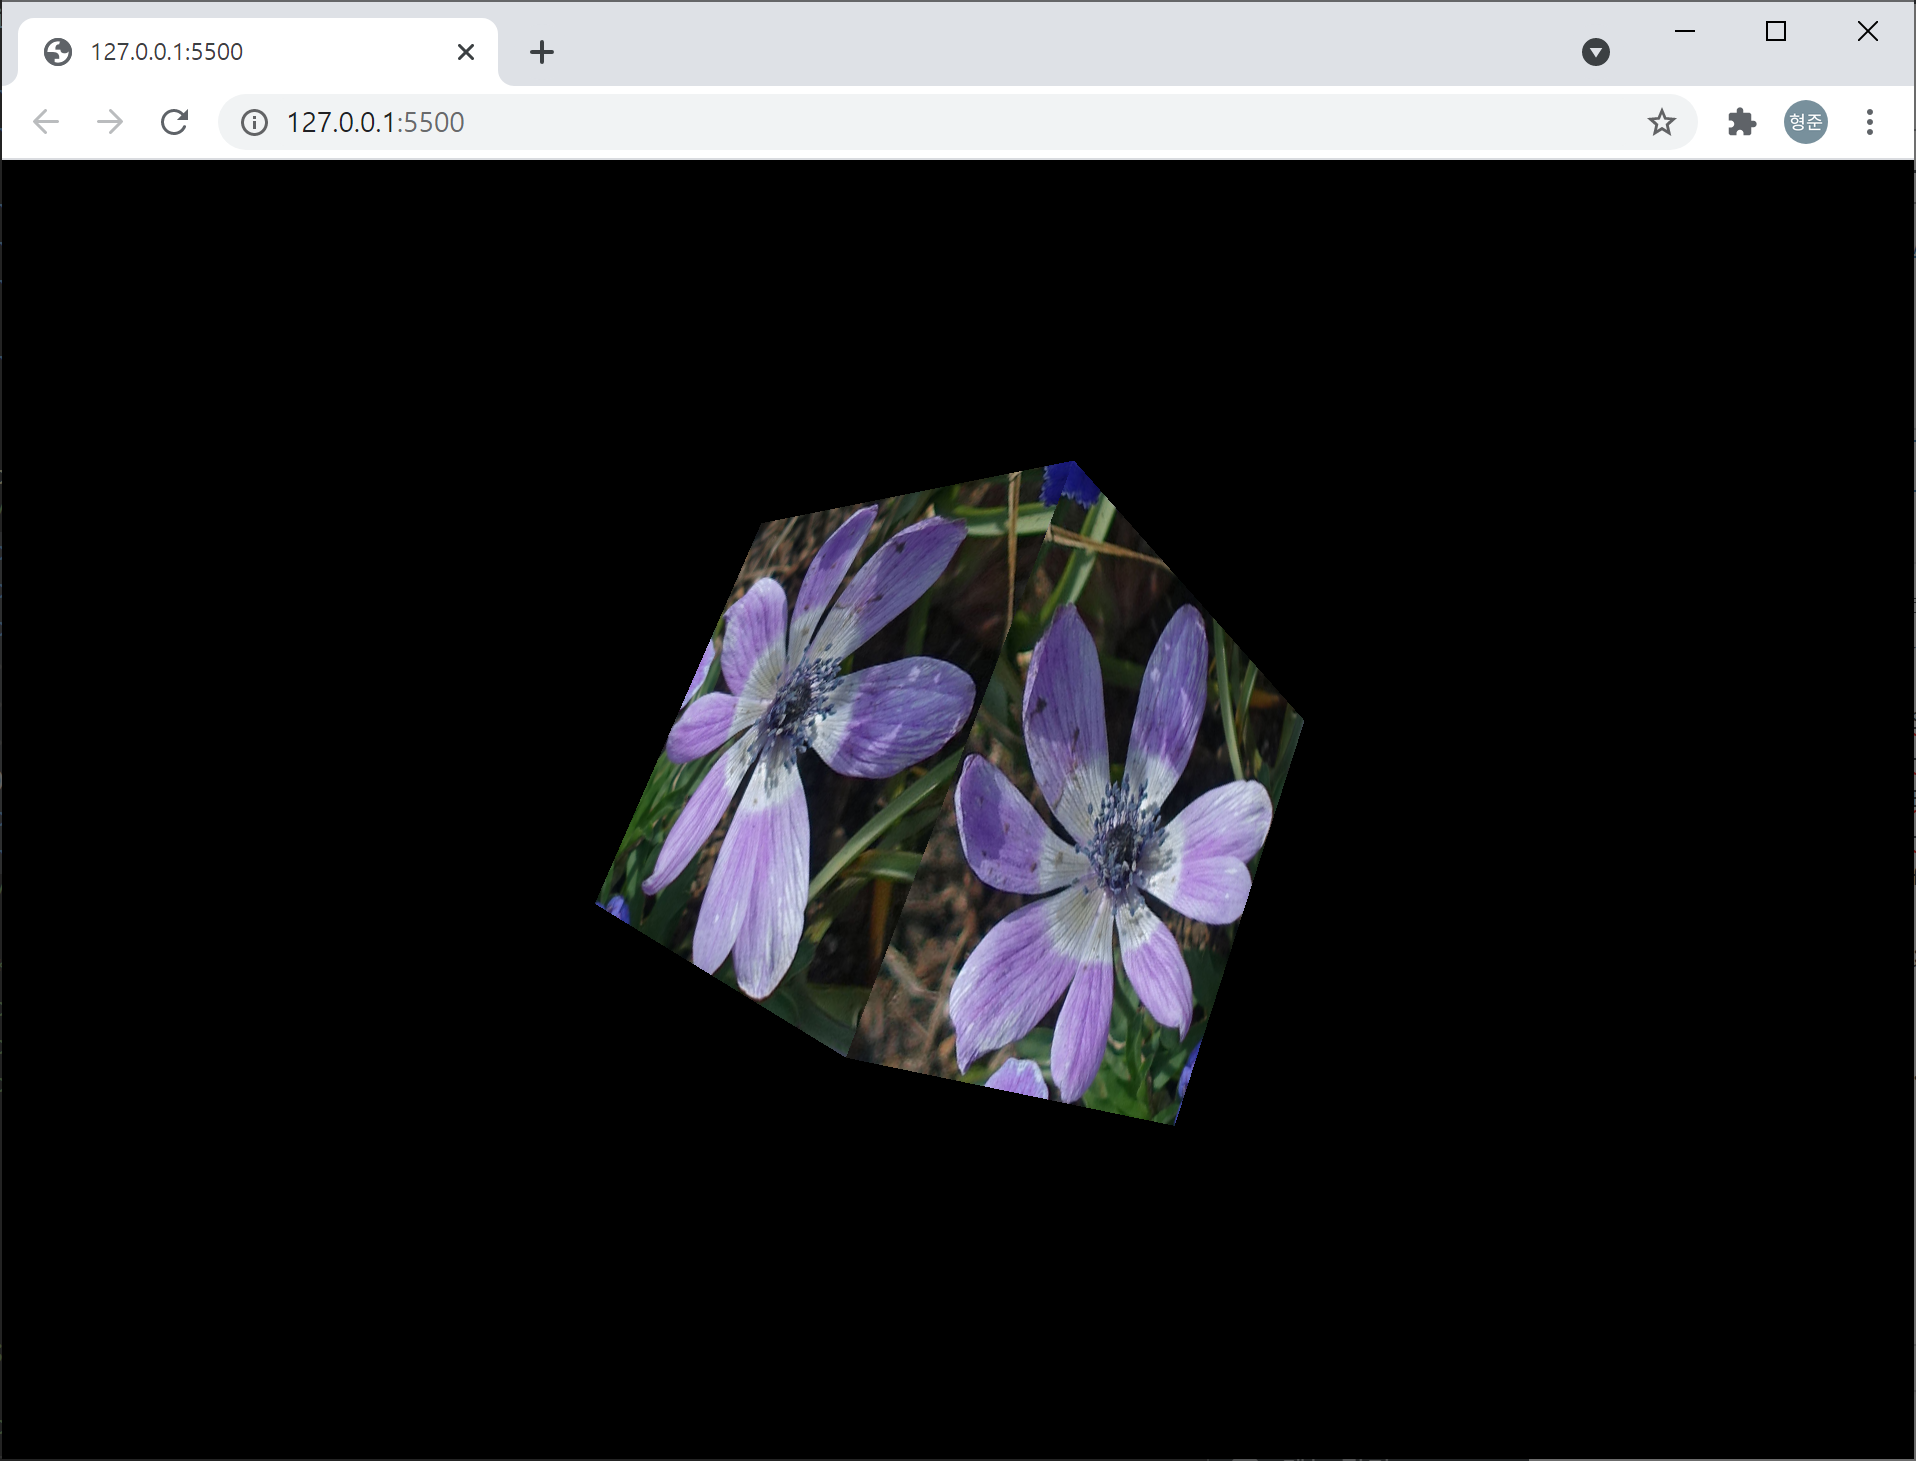
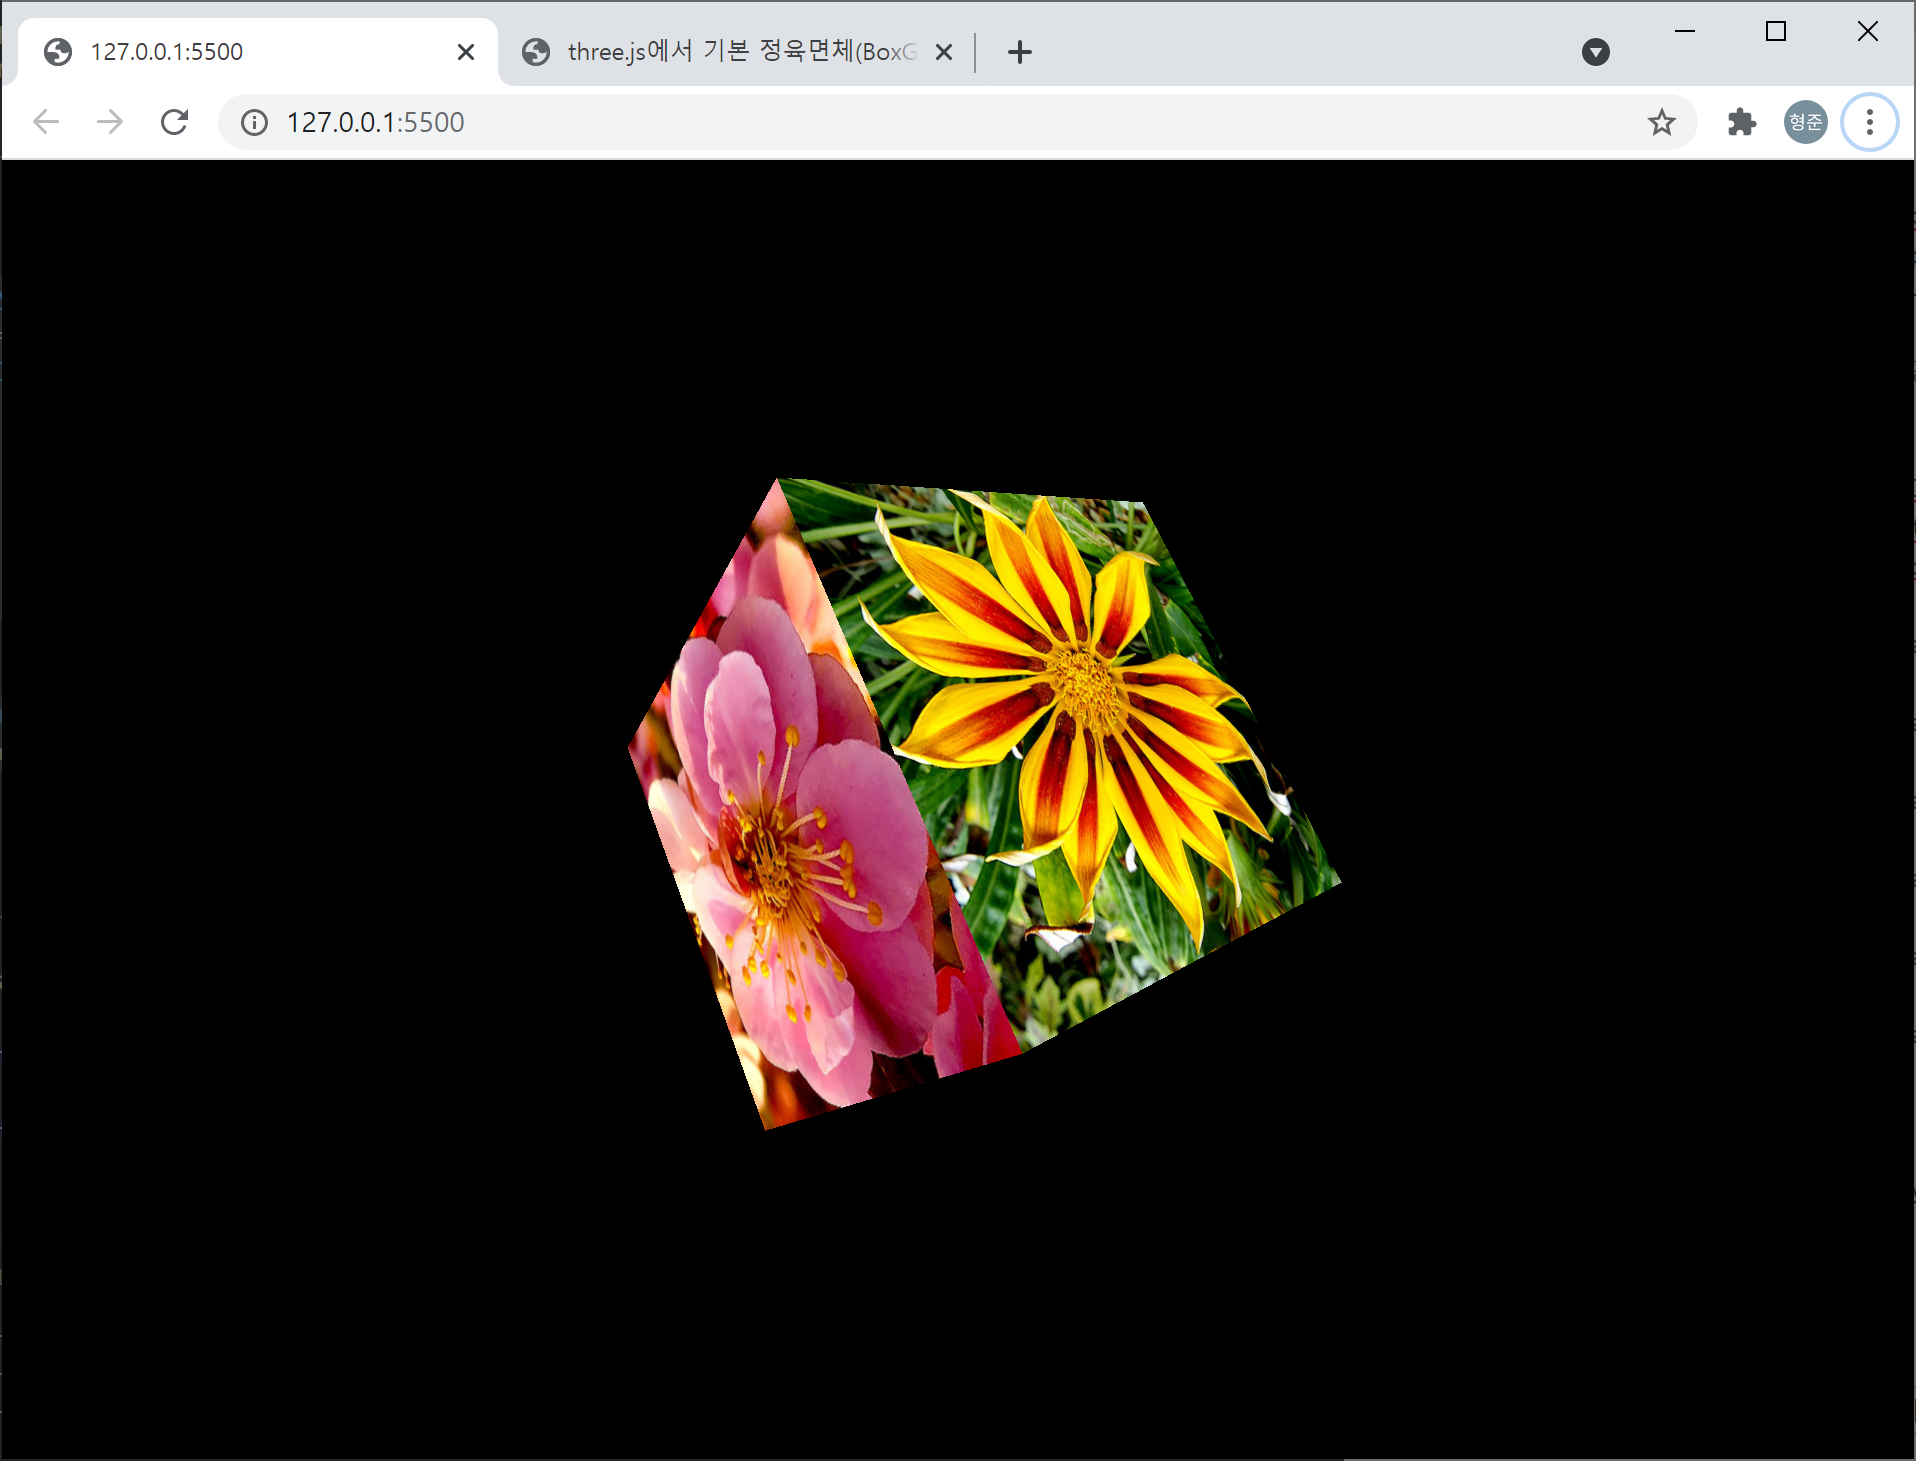
[GoF] Singleton 패턴

패턴명칭

Singleton

필요한 상황

프로그램에서 오직 딱 하나의 객체만 생성하도록 하는 장치이다.

예제 코드

생성자를 private로 지정하여 외부에서 절대로 생성할 수 없도록 한다.

package pattern;

public class Singleton {
	private static Singleton self = null;
	private Singleton() {}
	
	public synchronized static Singleton getInstance() {
		if(self == null) {
			self = new Singleton();
		}
		return self;
	}
	
	public void print() {
		System.out.println("I am only one.");
	}
}

사용하는 코드는 다음과 같다.

package pattern;

public class Main {
	public static void main(String[] args) {
		Singleton s = Singleton.getInstance();
		s.print();
	}
}
이 글은 소프트웨어 설계의 기반이 되는 GoF의 디자인패턴에 대한 강의자료입니다. 완전한 실습을 위해 이 글에서 소개하는 클래스 다이어그램과 예제 코드는 완전하게 실행되도록 제공되지만, 상대적으로 예제 코드와 관련된 설명이 함축적으로 제공되고 있습니다. 이 글에 대해 궁금한 점이 있으면 댓글을 통해 남겨주시기 바랍니다.

[GoF] Template 패턴

패턴명칭

Template

필요한 상황

처리에 대한 로직은 정해져 있을 때, 이 로직을 구성하는 각각의 세부 항목에 대한 처리들을 다르게 정의하고자할때 사용할 수 있는 패턴이다.

예제 코드

위의 클래스다이어그램에서 DisplayArticleTemplate은 이미 정해진 로직을 정의하는 클래스이며, 이 로직을 구성하는 항목들의 세부 처리에 대한 인터페이스만을 정의하고 있는 추상클래스이다. 이 클래스를 상속받아 각 세부 항목을 구현해야 하는데, SimpleDisplayArticle과 CaptionDisplayArticle이 바로 그 클래스이다. DisplayArticleTemplate 클래스는 어떤 데이터를 화면에 출력하는 일을 하는데, 출력하는 대상이 되는 데이터는 Article 클래스의 인스턴스에 저장된다.

먼저 Article 클래스는 다음과 같다.

package pattern;

import java.util.ArrayList;

public class Article {
	private String title;
	private ArrayList<String> content;
	private String footer;
	
	public Article(String title, ArrayList<String> content, String footer) {
		this.title = title;
		this.content = content;
		this.footer = footer;
	}
	
	public String getTitle() {
		return title;
	}
	
	public ArrayList<String> getContent() {
		return content;
	}
	
	public String getFooter() {
		return this.footer;
	}
}

제목, 내용, 끝내용은 각각 title, content, footer 필드에 저장된다. 이제 이 데이터를 출력하는 로직을 담당하는 DisplayArticleTemplate 클래스는 다음과 같다.

package pattern;

public abstract class DisplayArticleTemplate {
	protected abstract void title();
	protected abstract void content();
	protected abstract void footer();
	
	protected Article article;

	public DisplayArticleTemplate(Article article) {
		this.article = article;
	}
	
	public final void display() {
		title();
		content();
		footer();
	}
}

display 매서드가 로직이고, title, content, footer 매서드가 로직을 구성하는 상세 처리이다. 이제 DisplayArticleTemplate 클래스를 상속해 각 상세 처리를 구현하는 클래스를 살펴보자. 먼저 SimpleDisplayArticle 클래스이다.

package pattern;

import java.util.ArrayList;

public class SimpleArcticle extends DisplayArticleTemplate {

	public SimpleArcticle(Article article) {
		super(article);
	}

	@Override
	protected void title() {
		System.out.println(article.getTitle());
	}

	@Override
	protected void content() {
		ArrayList<String> content = article.getContent();
		int cntLines = content.size();
		for(int i=0; i<cntLines; i++) {
			System.out.println(content.get(i));
		}
	}

	@Override
	protected void footer() {
		System.out.println(article.getFooter());
	}
}

다음은 CaptionDisplayArticle 클래스이다.

package pattern;

import java.util.ArrayList;

public class CaptionArticle extends DisplayArticleTemplate {

	public CaptionArticle(Article article) {
		super(article);
	}

	@Override
	protected void title() {
		System.out.println("TITLE: " + article.getTitle());
	}

	@Override
	protected void content() {
		System.out.println("CONTENT:");
		
		ArrayList<String> content = article.getContent();
		int cntLines = content.size();
		for(int i=0; i<cntLines; i++) {
			System.out.println("    " + content.get(i));
		}
	}

	@Override
	protected void footer() {
		System.out.println("FOOTER: " + article.getFooter());
	}
}

이제 이 클래스들을 사용하는 코드는 다음과 같다.

package pattern;

import java.util.ArrayList;

public class Main {
	public static void main(String[] args) {
		String title = "GIS, powerful tool";
		
		ArrayList<String> content = new ArrayList<String>();
		content.add("GIS is a geographic information system.");
		content.add("It is base on real spatial data.");
		content.add("It provides analyzing spatial and geographic data");
		
		String footer = "2020.10.08, written by Dip2K";
		
		Article article = new Article(title, content, footer);
		
		System.out.println("[CASE-1]");
		DisplayArticleTemplate style1 = new SimpleArcticle(article);
		style1.display();
		
		System.out.println();
		
		System.out.println("[CASE-2]");
		DisplayArticleTemplate style2 = new CaptionArticle(article);
		style2.display();
	}
}

하나의 데이터에 대해 2가지의 표현 방법을 확인하는 코드인데, 실행 결과는 다음과 같다.

[CASE-1]
GIS, powerful tool
GIS is a geographic information system.
It is base on real spatial data.
It provides analyzing spatial and geographic data
2020.10.08, written by Dip2K

[CASE-2]
TITLE: GIS, powerful tool
CONTENT:
    GIS is a geographic information system.
    It is base on real spatial data.
    It provides analyzing spatial and geographic data
FOOTER: 2020.10.08, written by Dip2K
이 글은 소프트웨어 설계의 기반이 되는 GoF의 디자인패턴에 대한 강의자료입니다. 완전한 실습을 위해 이 글에서 소개하는 클래스 다이어그램과 예제 코드는 완전하게 실행되도록 제공되지만, 상대적으로 예제 코드와 관련된 설명이 함축적으로 제공되고 있습니다. 이 글에 대해 궁금한 점이 있으면 댓글을 통해 남겨주시기 바랍니다.

[GoF] Strategy 패턴

패턴명칭

Strategy

필요한 상황

변경될 가능성이 높은 어떤 알고리즘을 쉽고 효과적으로 교체할 수 있도록 하는 패턴이다.

예제 코드

예시를 위해 이 글에서는 변경될 가능성이 높은 알고리즘을 1부터 N까지의 합계를 구하는 것으로 한다. 위의 클래스 다이어그램에서 NSumStrategy는 이 알고리즘의 연산 결과를 얻기 위한 인터페이스만을 정의하는 인터페이스이며 Strategy 패턴의 핵심이다. 코드는 아래와 같다.

package pattern;

public interface NSumStrategy {
	long sum(long N);
}

Calculator 클래스는 어떤 복잡한 연산을 수행하는 기능을 하는데, 복잡한 연산 속에 1부터 N까지 합계를 내는 연산이 필요하다. 코드는 아래와 같다.

package pattern;

public class Calculator {
	private NSumStrategy strategy;
	
	public Calculator(NSumStrategy strategy) {
		this.strategy = strategy;
	}
	
	public double run(int N) {
		return Math.log(strategy.sum(N));	
	}
}

이제 1부터 N까지 합계를 내는 연산에 대한 구체적인 클래스를 정의해보자. 먼저 SimpleSumStrategy 클래스는 다음과 같다. 가장 흔하게 사용되며 매우 직관적인 코드이지만, 반복문을 사용함으로써 수행속도는 느린 방법이다.

package pattern;

public class SimpleNSumStrategy implements NSumStrategy {
	@Override
	public long sum(long N) {
		long sum = N;
		
		for(long i=1; i<N; i++) {
			sum += i;
		}
		
		return sum;
	}
}

다음은 가우스 방식을 사용하는 GaussSumStrategy 클래스이다. 반복문을 사용하지 않아 매우 속도가 빠르다.

package pattern;

public class GaussSumStrategy implements NSumStrategy {
	@Override
	public long sum(long N) {
		return (N+1)*N/2;
	}
}

아래는 실제 1부터 N까지의 합을 필요로 하는 복잡한 연산을 실제로 수행하는 코드이다.

package pattern;

public class Main {
	public static void main(String[] args) {
		Calculator cal1 = new Calculator(new SimpleNSumStrategy()); 
		Calculator cal2 = new Calculator(new GaussSumStrategy());
		
		double result1 = cal1.run(10000000);
		double result2 = cal2.run(10000000);
		
		System.out.println(result1 + " " + result2);
		
	}
}

복잡한 연산 중 일부분인 1부터 N까지의 합을 구하는 방식을 분리하여 쉽게 교체가 가능한 것을 볼 수 있다.

이 글은 소프트웨어 설계의 기반이 되는 GoF의 디자인패턴에 대한 강의자료입니다. 완전한 실습을 위해 이 글에서 소개하는 클래스 다이어그램과 예제 코드는 완전하게 실행되도록 제공되지만, 상대적으로 예제 코드와 관련된 설명이 함축적으로 제공되고 있습니다. 이 글에 대해 궁금한 점이 있으면 댓글을 통해 남겨주시기 바랍니다.

[GoF] Iterator 패턴

패턴명칭

Iterator

필요한 상황

배열과 같이 동일한 형태의 데이터를 여러 개 저장하고 있는 저장소(Aggregator)가 있다. 이 저장소에 저장된 데이터를 순서대로 접근하기 위한 패턴이다. 순서대로 접근하기 위한 방법은 저장소의 종류와는 상관없이 동일한 방식(API)을 제공한다.

예제 코드

Aggregator와 Iterator 인터페이스는 저장소의 형태와 종류에 상관없이 저장소를 구성하는 데이터를 순차적으로 모두 접근하기 위한 API를 제공한다. 이 인터페이스를 구성하는 Table과 RowIterator는 저장소에 대한 특화된 구현 클래스이다. Row 역시 저장소를 구성하는 특화된 데이터 구조에 대한 클래스이다. 이들 클래스를 사용하는 예제는 다음과 같다.

package pattern;

public class Main {
	public static void main(String[] args) {
		Table table = new Table();
		
		table.add(new Row("Jane", 27));
		table.add(new Row("Suji", 35));
		table.add(new Row("Tom", 19));
		table.add(new Row("Robin", 43));
		table.add(new Row("Robert", 58));
		
		Iterator it = table.iterator();
		while(it.next()) {
			Row row = (Row)it.current();
			System.out.println(row);
		}
	}
}

Aggregator 인터페이스는 다음과 같다.

package pattern;

public interface Aggregator {
	Iterator iterator();
}

Itertor 인터페이스는 다음과 같다.

package pattern;

public interface Iterator {
	boolean next();
	Object current();
}

next는 다음 구성 데이터로 이동하고 true를 반환한다. 만약 다음 데이터가 존재하지 않으면 false를 반환한다. current는 현재 Itertor가 가르키고 있는 현재의 데이터를 반환한다. Aggregator를 구현하는 Table 클래스는 다음과 같다.

package pattern;

import java.util.LinkedList;

public class Table implements Aggregator {
	private LinkedList<Row> table = new LinkedList<Row>();
	
	public Table() {
		//.
	}
	
	public Row get(int index) {
		return table.get(index);
	}
	
	public void add(Row row) {
		table.addLast(row);
	}
	
	public int getLength() {
		return table.size();
	}
	
	@Override
	public Iterator iterator() {
		return new RowIterator(this);
	}
}

Iterator를 구현하는 RowIterator 클래스는 다음과 같다.

package pattern;

public class RowIterator implements Iterator {
	private Table table;
	private int index;
	
	public RowIterator(Table table) {
		this.table = table;
		this.index = -1;
	}
	
	@Override
	public boolean next() {
		index++;
		return index < table.getLength();
	}

	@Override
	public Object current() {
		return table.get(index);
	}
}

저장소를 구성하는 실제 데이터에 대한 Row 클래스는 다음과 같다.

package pattern;

public class Row {
	private String name;
	private int age;
	
	public Row(String name, int age) {
		this.name = name;
		this.age = age;
	}
	
	public String getName() {
		return name;
	}
	
	public int getAge() {
		return age;
	}
	
	public String toString() {
		return "(" + name + ", " + age + ")";
	}
}

실행 결과는 다음과 같다.

(Jane, 27)
(Suji, 35)
(Tom, 19)
(Robin, 43)
(Robert, 58)
이 글은 소프트웨어 설계의 기반이 되는 GoF의 디자인패턴에 대한 강의자료입니다. 완전한 실습을 위해 이 글에서 소개하는 클래스 다이어그램과 예제 코드는 완전하게 실행되도록 제공되지만, 상대적으로 예제 코드와 관련된 설명이 함축적으로 제공되고 있습니다. 이 글에 대해 궁금한 점이 있으면 댓글을 통해 남겨주시기 바랍니다.