공공데이터포털(data.go.kr)에서 “동네예보”로 검색하면 아래와 같은 결과 중 기상청_동네예보 조회서비스에 대한 활용신청 버튼을 클릭하여 OpenAPI 사용 신청을 합니다.

저 같은 경우 고맙게도 사용 신청 후 즉시 사용할 수 있었는데요. 마이페이지에서 오픈API의 개발계정을 클릭하면 앞서 신청한 서비스가 표시됩니다. 표시되는 서비스 중 앞서 신청한 서비스의 제목을 클릭하면 이 중 초단기실황조회의 확인 버튼을 클릭하면 아래와 같은 화면이 표시됩니다.

현재의 기상 정보를 얻을 목적이므로 위의 서비스 중에서 초단기실황조회에 대한 미리보기의 확인 버튼을 클릭하면 다음과 같이 테스트해 볼 수 있는 UI가 표시됩니다.
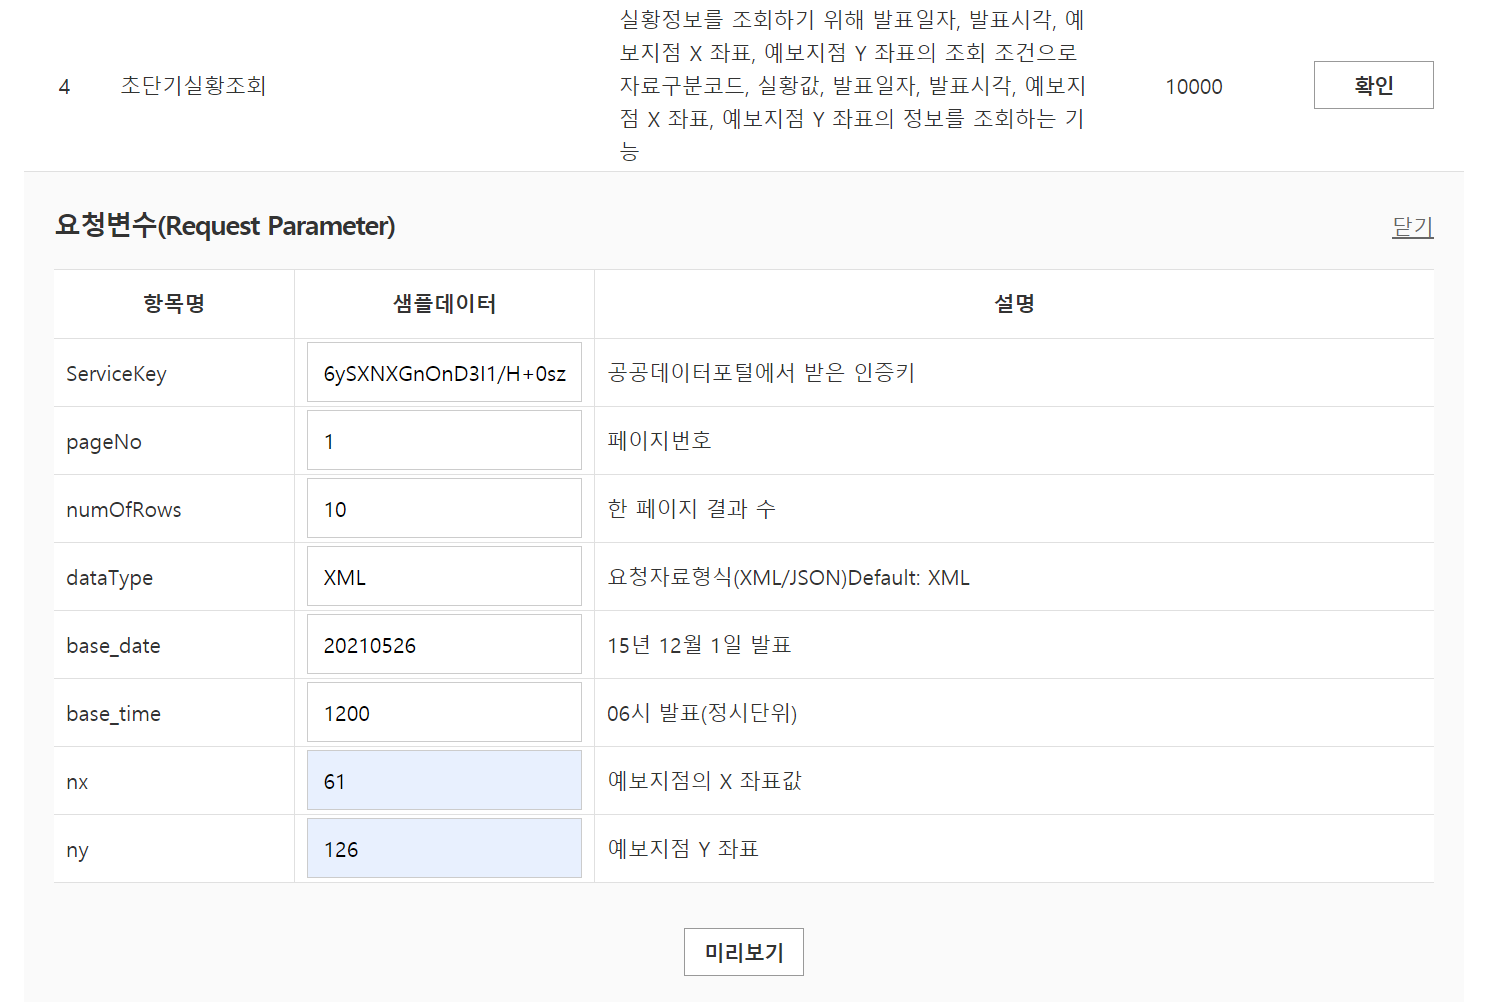
서비스 키와 날짜, 시간, 위치값(위의 경우 nx와 ny로 지정하며 광진구 화양동)을 입력하고 미리보기 버튼을 클릭하면 아래의 결과가 표시됩니다.
      00
      NORMAL_SERVICE


      XML


            20210526
            1200
            PTY
            61
            126
            0


            20210526
            1200
            REH
            61
            126
            37


            20210526
            1200
            RN1
            61
            126
            0


            20210526
            1200
            T1H
            61
            126
            22.6


            20210526
            1200
            UUU
            61
            126
            1.9


            20210526
            1200
            VEC
            61
            126
            210


            20210526
            1200
            VVV
            61
            126
            3.3


            20210526
            1200
            WSD
            61
            126
            3.8


      10
      1
      8
총 8개의 정보가 표시됩니다. category 태그를 통해 어떤 종류인지 확인할 수 있으며 T1H(기온 ℃), RN1(1시간 강수량 mm), UUU(동서바람성분 m/s), VVV(남북바람성분 m/s), REH(습도 %), PTY(강수형태), VEC(풍향 deg), WSD(풍속 m/s)입니다. 값이 900이상 -900이하일 경우 누락된 값으로 판단해야 합니다. 아울러 정보 중 강수형태는 코드값으로 값에 대한 의미는 없음(0), 비(1), 비/눈(2), 눈(3), 소나기(4), 빗방울(5), 빗방울/눈날림(6), 눈날림(7)입니다.
초단기실행 정보는 10분 단위로 업데이트 된다고 합니다. 그리고 관측지점은 nx와 ny로 지정하는데 이 값은 일반적인 경위도값이 아닌 이 서비스를 위한 기준 격자 번호입니다. 해당 서비스에 대한 엑셀 문서를 통해서 각 행정구역에 대한 nx와 ny를 파악할 수 있도 있고 경위도를 통해 변환할 수 있는 C언어 코드를 문서를 통해 제공하고 있습니다.
이 글은 현재 기상 정보를 파악하기 위해 필요한 최소한의 내용을 설명하고 있으므로 전체적인 내용 파악이 필요할 경우 해당 서비스에 대한 활용가이드 문서를 참고하시기 바랍니다.
아래의 코드는 위의 서비스를 실제 시스템에 반영할 때 발생하는 CORS 문제를 피하기 위한 프록시(Proxy) 서버를 사용해 호출하는 코드입니다.
let proxy = "http://111.111.111.111/Xr";
let urlHeader = "http://apis.data.go.kr/1360000/VilageFcstInfoService/getUltraSrtNcst";
let queryString = "serviceKey=__ENCODED_KEY__&pageNo=1&numOfRows=10&dataType=XML&base_date=20210526&base_time=0600&nx=18&ny=1";
queryString = encodeURI(queryString);
url = proxy + "?reqPrx|" + urlHeader + "|" + queryString;

const xhr = new XMLHttpRequest();
xhr.open("GET", url);

xhr.onreadystatechange = function (evt) {
    if (xhr.readyState === 4) {
        if (xhr.status === 200) {
            console.log(xhr.responseText);
        } else {
            throw new Error("Error");
        }
    }
};

xhr.send(null);