Drei 컴포넌트 : Grid

Drei 컴포넌트는 R3F에서 사용할 수 있는 매우 유용한 컴포넌트의 집합입니다. 그 중 Grid 컴포넌트에 대한 사용인데 Grid 이외의 Drei 컴포넌트도 사용되고 있습니다. 예를 들어 StatsGl, Center, Grid, GizmoHelper, GizmoViewcube, GizmoViewport 입니다.

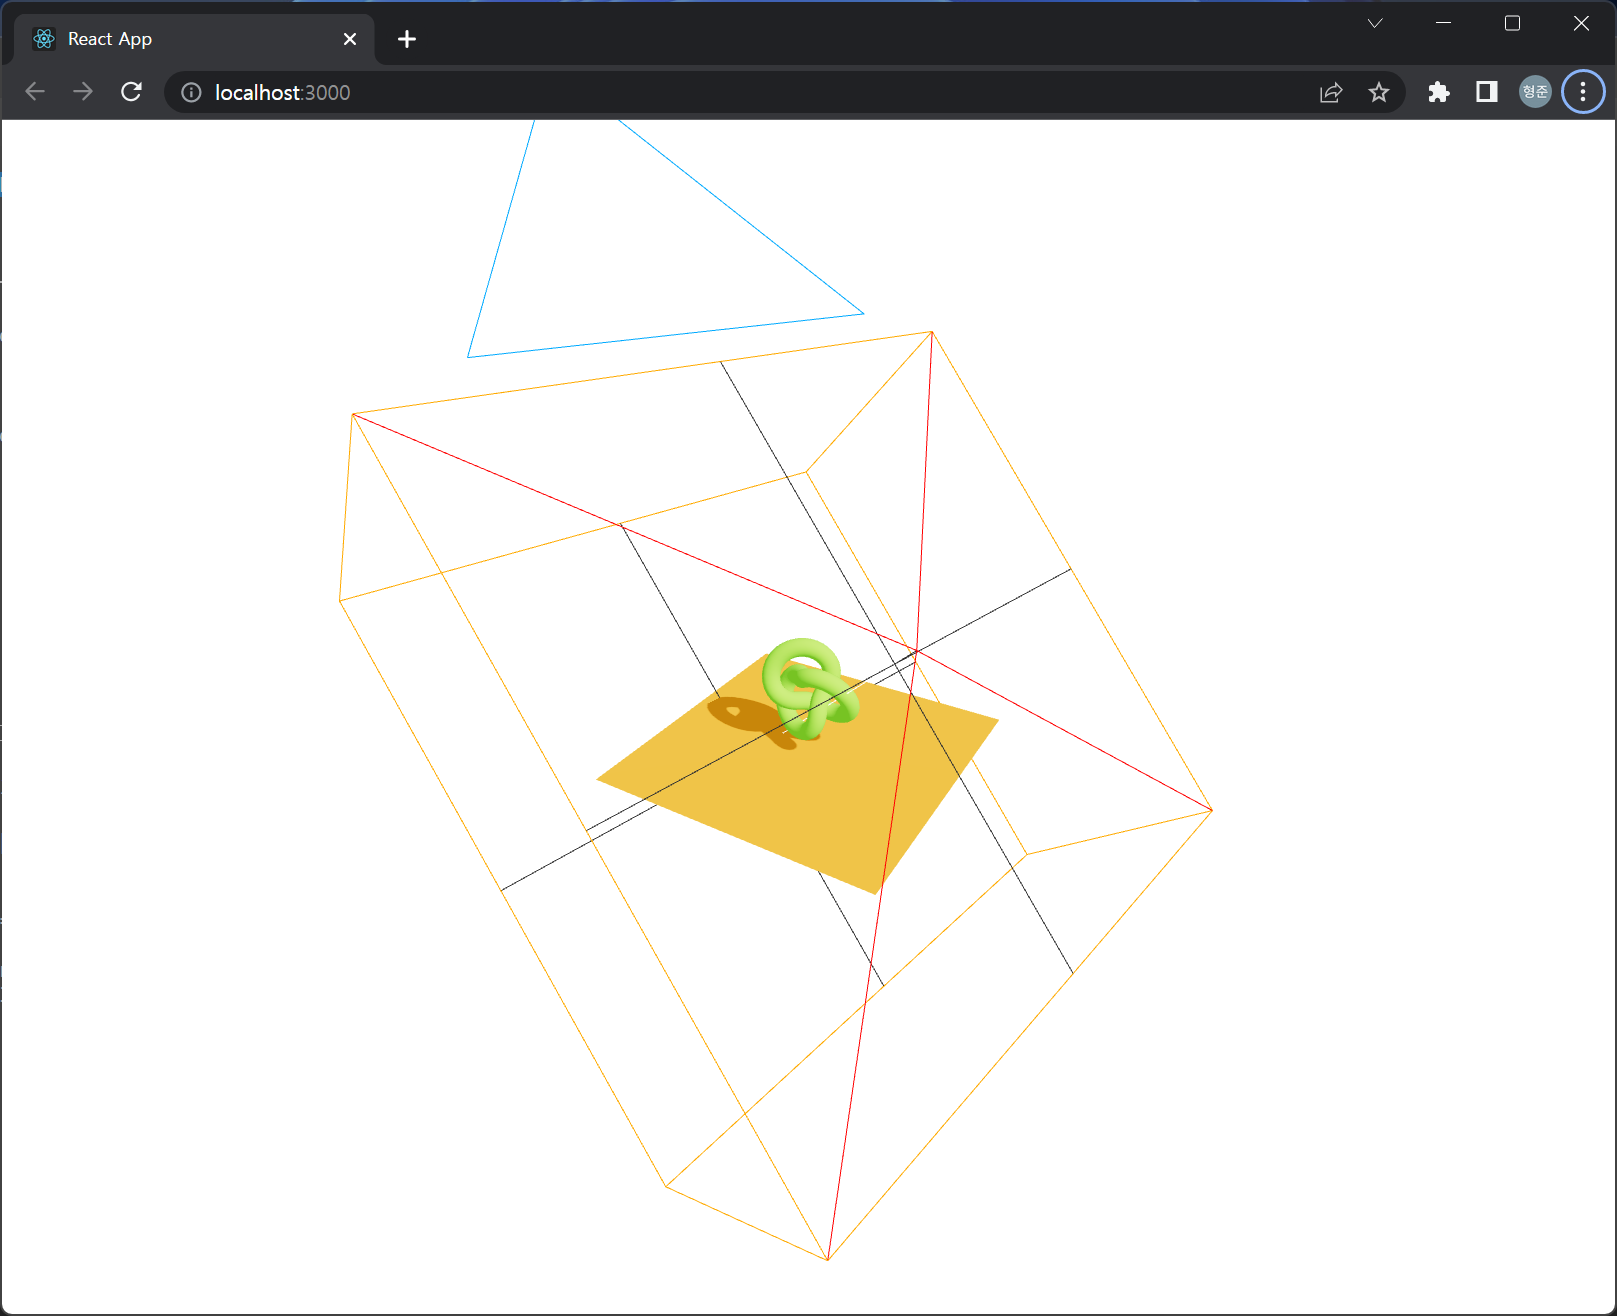
먼저 결과는 다음과 같습니다.

위의 결과에 대한 코드를 하나씩 살펴보면, 먼저 App.jsx 입니다.

import './App.css'
import { Canvas } from '@react-three/fiber'
import MyElement3D from './MyElement3D_Grid'

function App() {
  return (
    <>
      <Canvas shadows camera={{ position: [10, 12, 12], fov: 25 }}>
        <color args={["#303035"]} attach="background" />
        <MyElement3D />
      </Canvas>
    </>
  )
}

export default App

다음은 App 컴포넌트에서 사용하고 있는 MyElement3D_Grid 파일에 대한 코드입니다. 이 파일의 코드를 기능 별로 언급합니다.

먼저 모델 컴포넌트입니다.

import { AccumulativeShadows, Center, Environment, GizmoHelper, GizmoViewcube, GizmoViewport, Grid, OrbitControls, RandomizedLight, Stats, StatsGl, useGLTF } from "@react-three/drei"
import { useControls } from "leva"
import { memo } from "react"

function Robot(props) {
  const { nodes } = useGLTF('./models/model.glb')

  nodes.Scene.traverse(obj => {
    obj.castShadow = true
    obj.receiveShadow = true
  })

  console.log(nodes)
  return (
    <primitive object={nodes.Scene} {...props} />
  )
}

다음은 그림자 컴포넌트입니다. memo 고차 컴포넌트를 사용했는데 그림자일 경우 이렇게 처리하면 장점이 있다고 하네요.

const Shadows = memo(() => (
  <AccumulativeShadows temporal frames={100} color="#000000" colorBlend={0.5} alphaTest={0.9} scale={20}>
    <RandomizedLight amount={8} radius={4} position={[5, 5, -10]} />
  </AccumulativeShadows>
))

이 글의 주인공인 Grid 컴포넌트입니다. 이 컴포넌트의 속성을 UI로 설정하기 위해서 useControls를 사용했습니다.

function MyGrid() {
  const { gridSize, ...gridConfig } = useControls({
    gridSize: [10.5, 10.5],
    cellSize: { value: 0.6, min: 0, max: 10, step: 0.1 },
    cellThickness: { value: 1, min: 0, max: 5, step: 0.1 },
    cellColor: '#6f6f6f',
    sectionSize: { value: 3.3, min: 0, max: 10, step: 0.1 },
    sectionThickness: { value: 1.5, min: 0, max: 5, step: 0.1 },
    sectionColor: '#9d4b4b',
    fadeDistance: { value: 25, min: 0, max: 100, step: 1 },
    fadeStrength: { value: 1, min: 0, max: 1, step: 0.1 },
    followCamera: false,
    infiniteGrid: true
  })

  return (
    <Grid args={gridSize} position={[0, -0.01, 0]} {...gridConfig} />
  )
}

위에서 정의된 컴포넌트들을 사용한 실제 MyElement3D입니다. 리엑트의 좋은 코딩 습관은 말단 컴포넌트는 최대한 JSX 코드만을 반환하는 것으로 작성하는 것입니다. 그러면 코드 가독성이 높아지고 컴포넌트 분리가 효과적으로 됩니다.

function MyElement3D() {
  return (
    <>
      {/* <Stats /> */}
      <StatsGl />

      <OrbitControls makeDefault />
      <Environment preset="city" />
      
      {/* <Center top>
        <Suzi rotation={[-0.63, 0, 0]} scale={2} />
      </Center> */}
      
      <Center>
        <Robot scale={2} />
      </Center>

      <MyGrid />

      <GizmoHelper alignment="bottom-right" margin={[80, 80]}>
        <GizmoViewcube />
        {/* <GizmoViewport axisColors={['#9d4b4b', '#2f7f4f', '#3b5b9d']} labelColor="white" /> */}
      </GizmoHelper>
      
      <Shadows />
    </>
  )
}

export default MyElement3D

이 코드는 추후 제 유튜브 채널을 통해 영상으로 소개될 예정입니다.

Drei 컴포넌트 : RenderTexture

RenderTexture는 재질의 map 속성에 사용할 수 있는 텍스쳐를 별도의 카메라와 광원 그리고 모델로 구성된 씬을 통해 만들어 주는 컴포넌트로 그 활용성이 매우 높습니다.

RenderTexture가 적용된 Cube 컴포넌트입니다.

function Cube() {
  const textRef = useRef()
  useFrame((state) => (textRef.current.position.x = Math.sin(state.clock.elapsedTime) * 2))
  return (
    <mesh>
      <cylinderGeometry />
      <meshStandardMaterial>
        <RenderTexture attach="map" anisotropy={16}>
          <PerspectiveCamera makeDefault manual aspect={1 / 1} position={[0, 0, 5]} />
          <color attach="background" args={['orange']} />
          <ambientLight intensity={0.5} />
          <directionalLight position={[10, 10, 5]} />
          <Text font={suspend(inter).default} ref={textRef} fontSize={4} color="#555">
            hello
          </Text>
          <Dodecahedron />
        </RenderTexture>
      </meshStandardMaterial>
    </mesh>
  )
}

위의 코드에서 Dodecahedron 컴포넌트가 보이는데, 코드는 다음과 같습니다.

function Dodecahedron(props) {
  const meshRef = useRef()
  const [hovered, hover] = useState(false)
  const [clicked, click] = useState(false)
  useFrame(() => (meshRef.current.rotation.x += 0.01))
  return (
    <group {...props}>
      <mesh
        ref={meshRef}
        scale={clicked ? 1.5 : 1}
        onClick={() => click(!clicked)}
        onPointerOver={() => hover(true)}
        onPointerOut={() => hover(false)}>
        <dodecahedronGeometry args={[0.75]} />
        <meshStandardMaterial color={hovered ? 'hotpink' : '#5de4c7'} />
      </mesh>
    </group>
  )
}

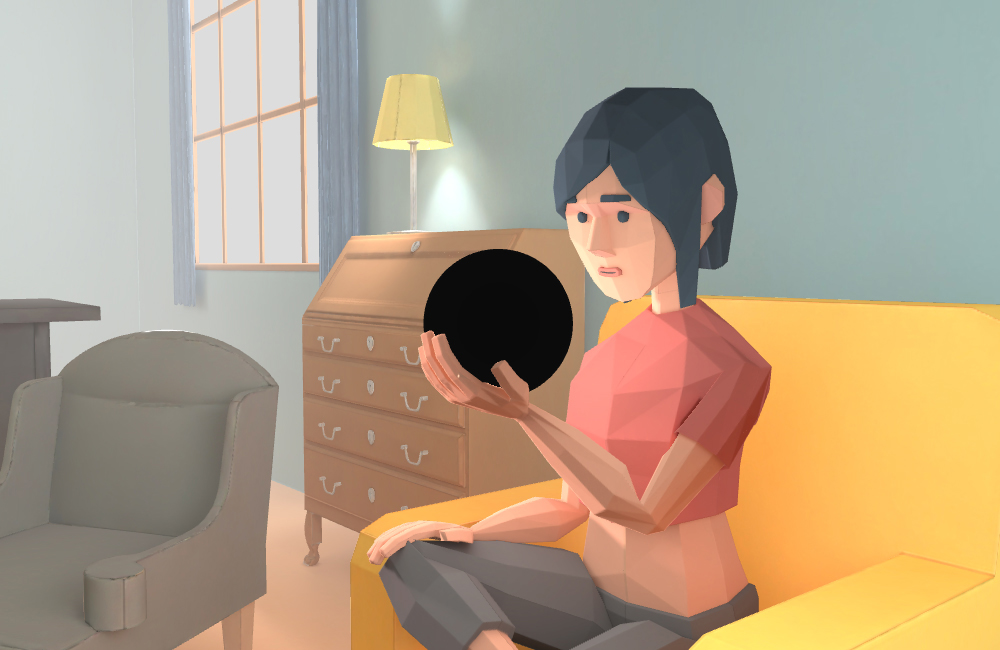
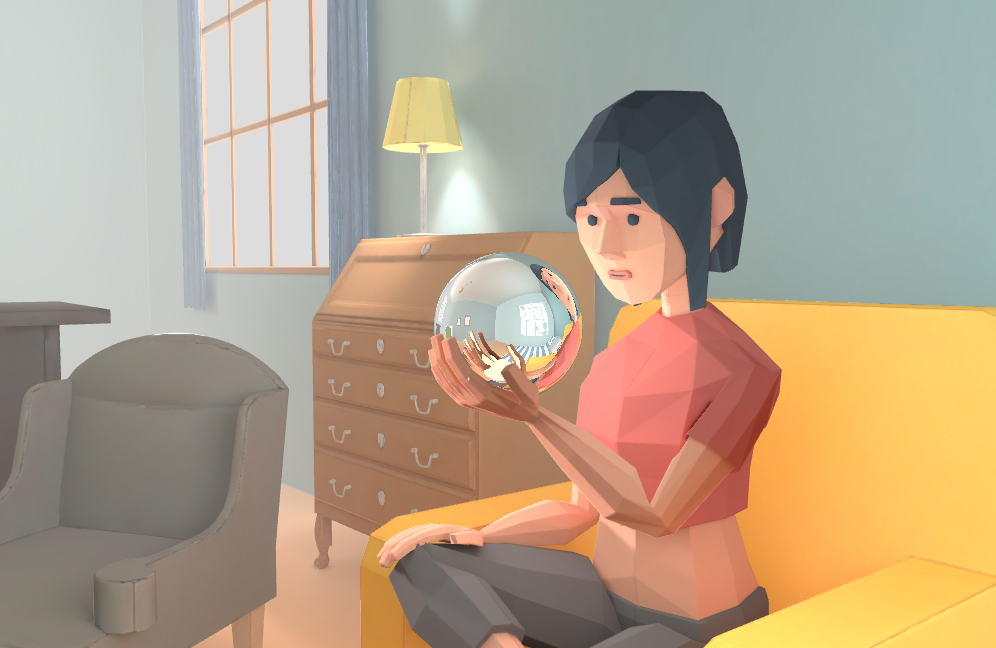
실제 Cube는 다음처럼 렌더링됩니다.