
보안에 대한 이슈로 인해 특정 서버에 어떤 요청을 해도 응답을 하지 않는 다음 그림과 같은 상황이 있습니다. 이런 경우는 방확벽에 막혀 있거나.. 서버에서 특정 IP에 대해서 응답을 하지 않는 경우입니다.
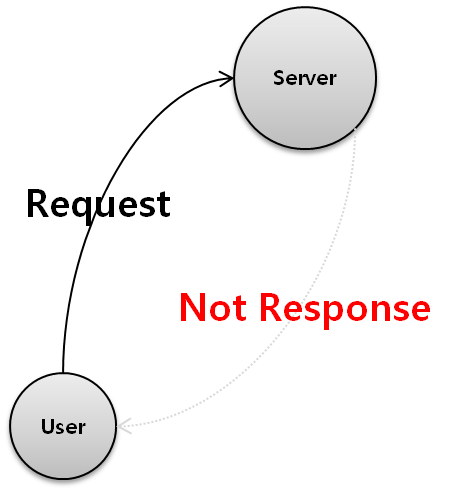
이러한 상황이 발생하는 이유는 서버단에서 클라이언트인 사용자를 차단하기 때문입니다. 이럴 경우 서버가 차단하지 않는 별도의 서버로 우회하여 사용자가 요청에 대한 원하는 결과를 받을 수 있는데요. 이러한 구성은 다음과 같습니다.
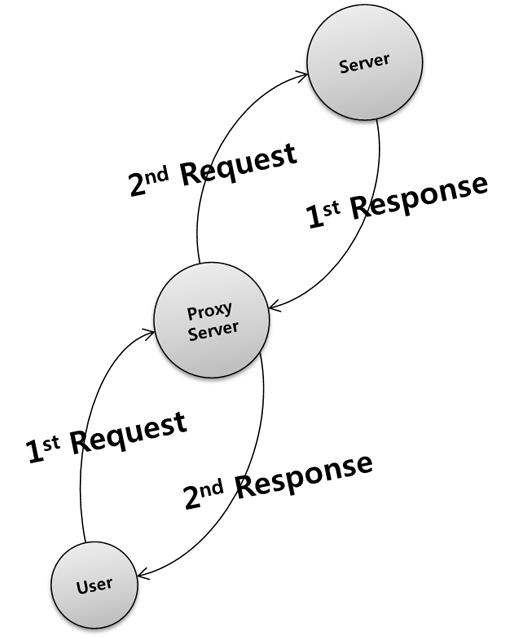 즉, 사용자(User)가 직접적으로 Server에 요청을 날리지 않고 Server가 안전하다고 판단되는 Proxy Server를 통해 간접적으로 요청을 날리면 Proxy Server는 User 대신 실제 Server에게 요청을 날리고 그 결과를 대신 받아 다시 User에게 날려주는 것 입니다.
이게 상당히 쓸모가 있습니다. 저 같은 경우 어떤 프로젝트를 진행하면서 실제 서버가 특정한 장소 안에서만 접근할 수 있음으로 해서.. 결국 작업을 하려면 지정된 장소에 가서 작업을 해야할 상황이였는데요. 이에 대해서 Proxy Server를 두고 실제 서버에서 Proxy Server에 대해서 방화벽 차단을 해제해줄 것을 요청한뒤 어떠한 장소에서든 이 Proxy Server를 통해 실제 서버에 접근하여 작업을 할 수 있었습니다.
그 당시 제가 사용했던 Proxy Server는 GeoService-Xr이라는 공간서버였습니다. GeroService-Xr은 기본적으로 Proxy Server 기능을 가지고 있습니다.
아래의 코드는 실제 서버의 IP가 44.44.44.44이고 Proxy Server의 IP는 77.77.77.77일때를 예로 든 경우입니다. 즉, 저와 같은 경우 GeoService-Xr이 77.77.77.77에 설치되어 있는 것입니다.
var svc:XrRequestURLProxy = new XrRequestURLProxy("77.77.77.77",
    onRequestComplete, onRequestError);
var url:String = "http://44.44.44.44/doAction.jsp";
var queryString:String = "param=100";
svc.run({url:url, queryString:queryString});
호출이 성공적으로 완료되면 onRequestComplete 함수가 호출되고 실패하면 onRequestError 함수가 호출됩니다. onRequestComplete 함수는 다음과 같은 형태입니다.
private function onRequestComplete(result:String):void
{
    var obj:Object = JSON.parse(result);
    //..
}
위의 코드는 요청 결과가 JSON 형태일 경우에 대한 예입니다. 그리고 onRequestError 함수는 다음과 같은 형태입니다.
private function onRequestError():void
{
    //..
}
이상으로 프록시 서버에 대한 간단한 설명과 저와 같은 상황에서 어떤식으로 프록시 서버를 활용했지에 대한 예 였습니다.

 이 부분은 ‘시’, ‘도’로 끝납니다. 그리고 축약된 형태가 많이 사용되는데, 예를 들어서 서울특별시의 경우 서울로, 전라북도를 전북으로 표기되는 경우가 많습니다. 이 부분은 모두 한글로 구성됩니다.
 이 부분은 ‘시’, ‘군’, ‘구’로 끝납니다. 2개의 단어로 구성된 경우가 있는데, 예를 들어서 ‘수원시 영통구’와 ‘전주시 덕진구’ 등이 있습니다. 이렇게 2개의 단어로 구성되는 경우 2번째 단어는 ‘구’로 끝나게 됩니다. 이 부분은 모두 한글로 구성됩니다.
 이 부분은 ‘읍’, ‘면’으로 끝납니다. 한글로만 구성됩니다. 새주소에서는 이 부분이 자주 생략되는 특징이 있습니다.
 이 부분은 ‘로’, ‘길’로 끝납니다. 숫자와 한글로 구성될 수 있습니다.
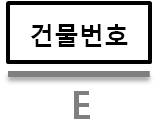 이 부분은 건물의 번호로써, 본번만 있을 경우 숫자로만 구성됩니다. 부번이 있을 경우 본번과 부번의 구분을 위해 ‘-‘가 사용됩니다.
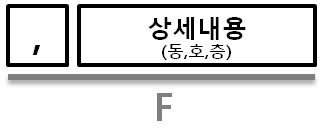 이 부분은 건물 번호 다음에 위치하므로 반드시 숫자 다음에 명시됩니다. 건물 번호와 구분을 위해 ‘,’가 사용되지만 입력자의 부주의로 인해 생략되기도 합니다. 건물의 ‘동’, ‘호’, ‘층’에 대한 내용이 옵니다. 한글, 영문, 숫자 등 다양하게 기재될 수 있습니다. 해당 내용의 정확한 구분을 위해 ‘동’, ‘호’, ‘층’으로 명시됩니다.
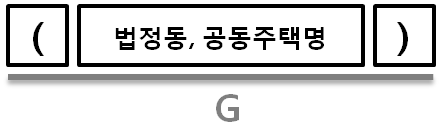 이 부분은 중가로 열기 ‘(‘로 시작하여 중가로 닫기 ‘(‘로 끝납니다. 자주 변경되는 행정동이 아닌 법정동과 해당 주소의 건물이 공동 주택일 경우 공동주택명이 나타납니다. 법정동과 공동주택명 모두가 표시될때는 ‘,’로 구분됩니다.