IT 기술 중 웹을 위한 프론트엔드 개발을 위한 기술은 그 변화가 매우 심하고 변덕스럽습니다. 한때 jQuery는 프론트엔드 개발에서 매우 핵심적인 자리를 차지했다가 지금은 과거에 비해 사용되지 않으며 현재는 Vue나 React와 같은 기술이 그 자리를 차지하고 있습니다.


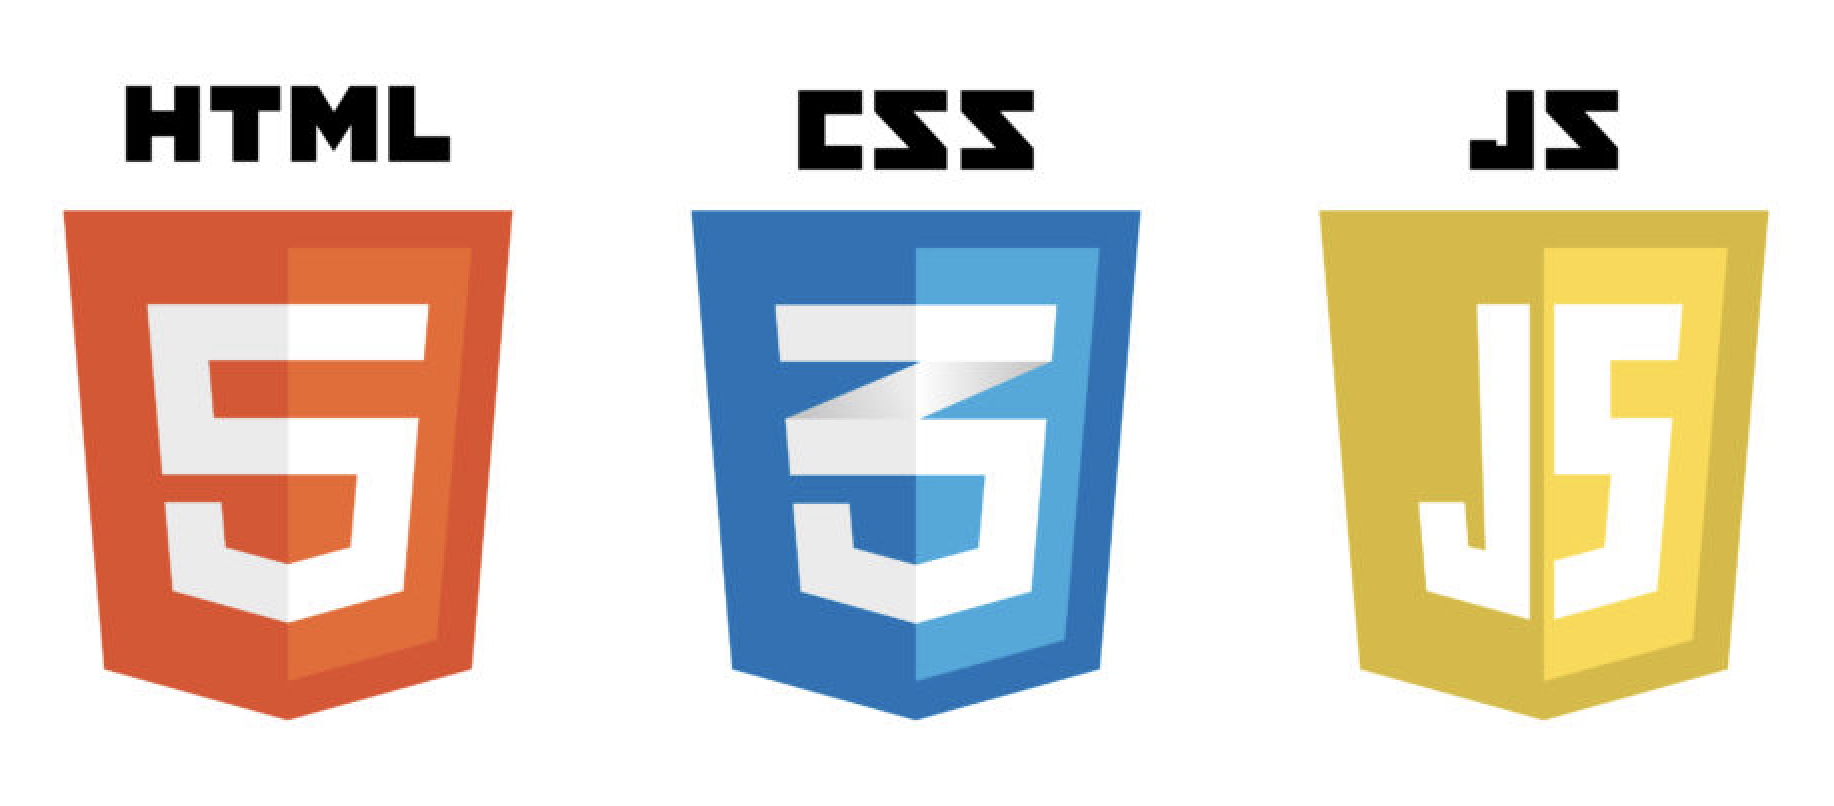
정상적으로 작동하는 웹 페이지를 만들기 위해 꼭 필요한 기술은 HTML, CSS, JS(이하 Javascript)입니다. HTML은 웹 페이지의 구조를 정의하고 CSS는 웹 페이지를 시각적으로 어떻게 보일지�를 정의하며 JS는 정적인 웹 페이지를 동적으로 만드는 생명력을 부여해 줍니다. 이 3가지만 알면 웹 페이지 개발이 가능함에도 정작 실무에서는 다른 대안을 고민합니다. jQuery, Vue, React 등과 같은 것들을 말이죠.
문제는 이런 것들은 웹 표준이 아니므로 자주 변하고 변덕스럽습니다. 특정한 회사나 개발자에 의해 만들어지므로 해당 기술은 다양한 이유로 인해 시장에서 사라지기도 합니다. 사실 매우 유명한 오픈소스 중 많은 것들이 1인 개발자나 소규모의 개발 조직에 의해 만들어지고 유지됩니다. 물론 작다고 해서 문제라�는 것은 아닙니다. 오히려 소프트웨어 개발에 있어서 작은 조직은 큰 조직 보다 훨씬 효율적이고 효과적으로 작동하고 더 적합할 때가 많습니다. 작고 크고는 필요에 의해 정해지는 것으로 서로 장단점이 있습니다.
jQuery나 Vue, React에 대한 다른 관점에서의 문제는 이런 기술들은 개발자에게 HTML, CSS, JavaScript에 대한 선행 학습을 요구하면서 동시에 추가적인 지식에 대한 학습을 강요합니다. 이런 추가적으로 알아야할 기술은 HTML, CSS, JavaScript에 대한 내용보다 훨씬 더 방대할 때가 많습니다. 또 자주 변하고 매우 독창적이기까지 합니다. 또 아니다 싶으면 그냥 폐기되고 다른 대안이 나옵니다. 프론트엔드 개발 기술의 흐름은 과거부터 지금까지 늘 이런 흐름의 반복입니다. 프론트엔드 개발자들은 분명 이러한 문제가 있음을 알면서도 결국에는 대세가 되는 프로트엔드 기술을 사용하데, 그 이유는 많은 개발자, 많은 개발사에서 사용되고 있다는 이유가 가장 절대적입니다.
저 역시도 제 스스로를 다독 거리며 React를 학습하고 프로젝트에 사용 했습니다. 현재 시점에서 React�는 프론트엔드 분야에서 점유율 1위라 사실은 어떤 문제를 더 이상 문제가 아닌 것으로 바꿔 버립니다. React는 나쁘지 않았고 완전히 새로운 방법으로 웹 페이지를 매우 효과적으로 개발할 수 있었습니다. 하지만 프로젝트를 마무리하고 회상해 보면 웹의 기본 기술은 HTML, CSS, JS만으로도 충분히 개발이 가능하다는 것을 깨닫게 되었습니다.
이 글은 프론트엔드 개발을 위해 가장 기본적이며 근본적인, 하지만 매우 효과적인 방법이라고 생각되는 것들을 여러분에게 공유하고 더 개선해 나가기 위한 목적을 갖습니다. 대규모 프로젝트도 진행하기 위해 제 경험에 기반한 다음과 같은 기술을 사용합니다. 참고로는 저는 공간정보와 관련된 시스템 개발에 대한 백엔드와 프론트엔드 개발자입니다. 공간정보시스템에 대한 프론트엔드 개발은 대부분 웹 기반의 SPA(Single Page Application)으로 그 규모가 상대적으로 매우 큽니다. 회사에서 지오서비스웹이라는 서비스를 제공하고 있는데 이 서비스 개발 역시 아래의 기술 등을 사용했습니다.
- HTML, CSS
- JS 또는 TS(이하 TypeScript)
- TS 지원과 번들링(Bundling)을 위한 vite
- OOP(객체지향 프로그래밍)
4번째인 OOP 항목은 프론트엔드 개발에 한정되지 않은 일반적인 프로그래밍에서 언급되는 것으로 엄밀히 말하면 JS나 TS에 포함되는 것입니다. 프로젝트의 규모가 커서 작성해야할 소스 코드가 방대하다면 JS 대신 TS를 사용하는 것을 권장합니다. TS는 JS의 문제점으로 언급되는 불명확한 타입 선언�을 해결하고 더 나은 class 작성 방법을 제공합니다. OOP를 사용하게 되면 훨씬 효과적인 개발이 가능합니다. OOP는 웹 어플리케이션(이하 앱)을 컴포넌트 단위로 개발하도록 유도하고 객체간의 관계를 효과적으로 맺도록 하며 기능 확장성과 효율적인 유지보수를 가능하게 됩니다. OOP가 생소한 분들이라면 OOP는 잠시 잊으시고 OOP 대신 JS나 TS의 class 키워드로 생각하시면 됩니다. 이 글에서는 OOP에 대한 깊이 있는 활용보다는 class에 대한 기초적인 사용을 통해 실습을 진행합니다.

vite는 TypeScript 언어에 대한 지원과 여러개의 소스 코드 파일을 하나로 묶어 주는 번들링 기능 제공, 웹 개발에 필요한 웹서버 제공, 배포 등과 같은 기능을 제공합니다. vite는 React 등과 같은 프로젝트를 생성하기 위해서도 사용되기도 합니다.

앞서 설명한 내용을 효과적으로 설명하기 위해서 실제 웹앱을 만들면서 설명하겠습니다. 만들 웹앱은 Tic-Tac-Toe이며 이를 선택한 이유는 리엑트 공식 사이트에서 리엑트를 설명하기 위한 웹앱으로 바로 이 Tic-Tac-Toe이기 때문입니다. 해당 사이트를 살펴보면 다음과 같습니다.
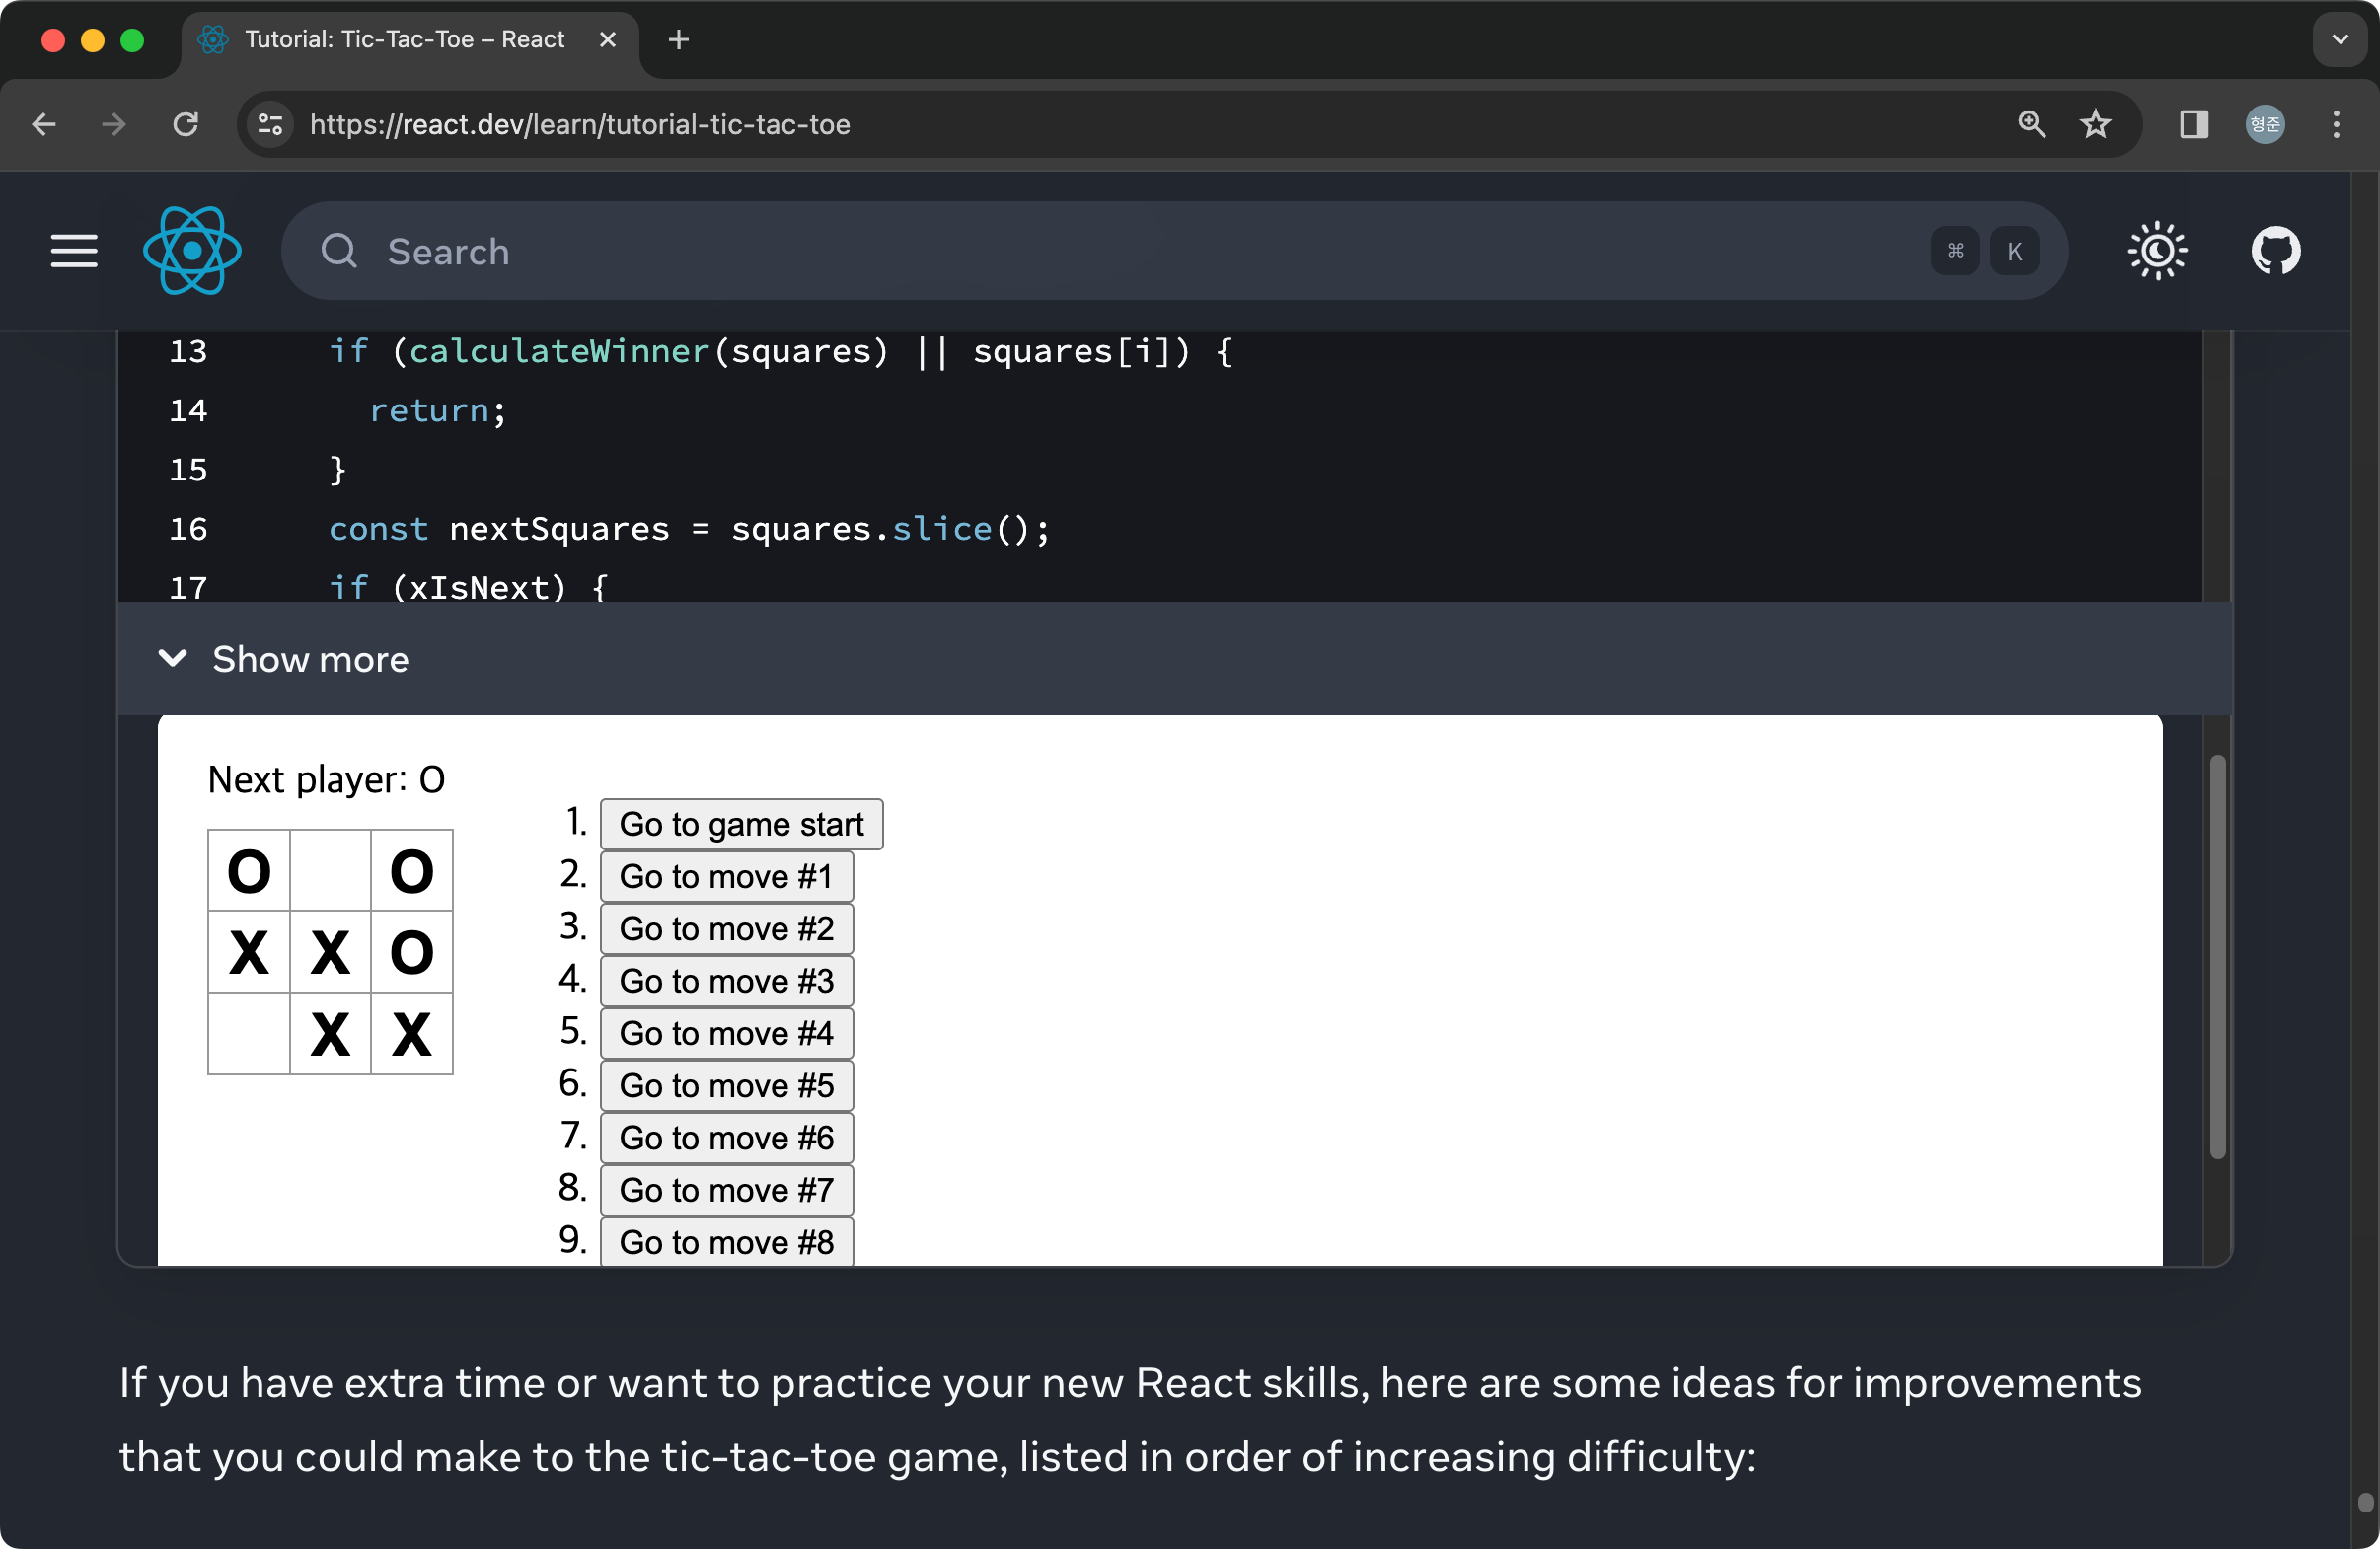
위의 화면은 react를 이용해 만든 웹앱인데, react에 대한 제법 많은 내용을 기반으로 작성되고 있습니다. 기본적인 Tic-Tac-Toe 게임의 규칙에 대한 플레이가 가능하고 게임 과정에 대한 이력을 관리하여 원하는 단계로 게임을 되돌릴 수 있는 기능을 가지고 있습니다. 이 웹앱을 앞서 언급했던 HTML/CSS와 TS를 이용해 동일하게 만들어 보겠습니다. TS가 아닌 JS로 만들수도 있지만 실무에 적합한 TS를 사용하겠습니다. TS는 타입에 대한 지정과 null 객체에 대한 엄격한 검사 등 JS보다 더 나은 코드 확장성과 유지보수적 특성을 제공합니다.
우리가 만들 이 웹앱의 클래스다이어그램(StarUML로 작성함)은 다음과 같습니다. 클래스다이어그램은 UML의 한 종류로 클래스 간의 관계를 매우 효과적으로 기술한 설계서라고 생각하면 됩니다.
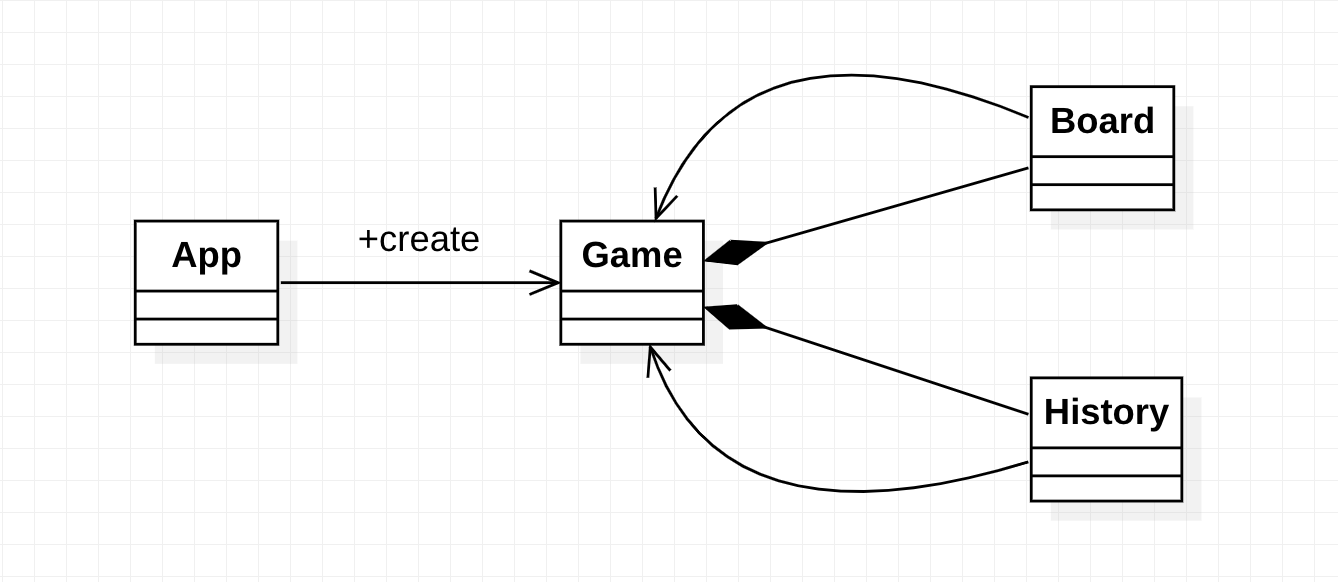
App이라는 클래스가 있고 이 App은 Game이라는 클래스에 대한 객체를 생성합니다. 그리고 Game 클래스는 Board와 History 클래스의 객체를 맴버 필드로 가지고 있습니다. 그리고 Board와 History 클래스의 객체는 Game 클래스의 객체를 참조하고 있다는 것을 알 수 있습니다. Game은 Tic-Tac-Toe 게임의 진행을 관리합니다. 그리고 Board는 3×3의 게임판을 관리하며 History는 게임 플레이 과정에 대한 이력을 관리해 원하는 이전 과정으로 복구할 수 있습니다.
이제 프로젝트를 생성하겠습니다. 코드를 입력할 개발툴은 VS.Code를 사용합니다. 그리고 vite를 설치하기 위해 node.js가 필요합니다. VS.Code와 node.js에 대한 2개의 프로그램이 설치되었다면 실습을 진행하는데 충분합니다.
프로젝트 폴더를 하나 만들고 이 폴더를 VS.Code에서 오픈합니다. 그리고 터미널을 열고 다음처럼 vite를 통해 프로젝트를 생성합니다.
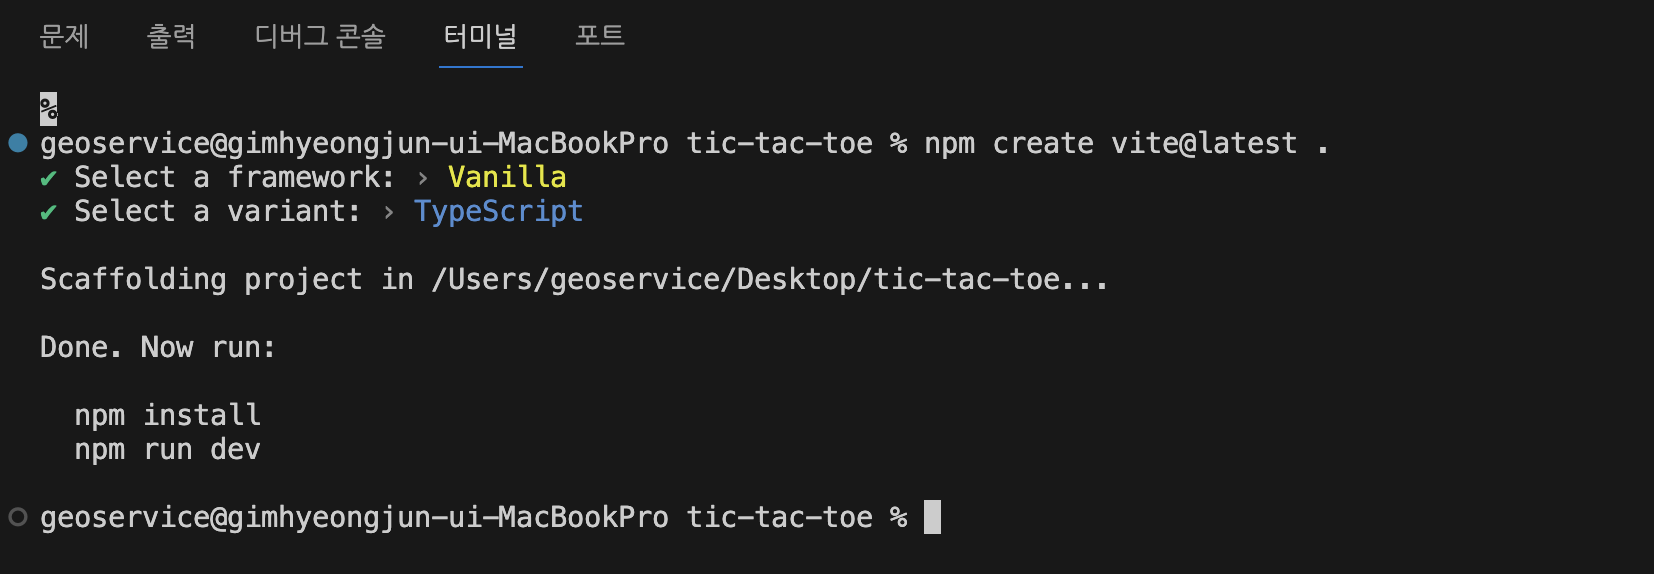
안내된 내용대로 다음 명령을 입력해 완료합니다.
npm install

npm run dev
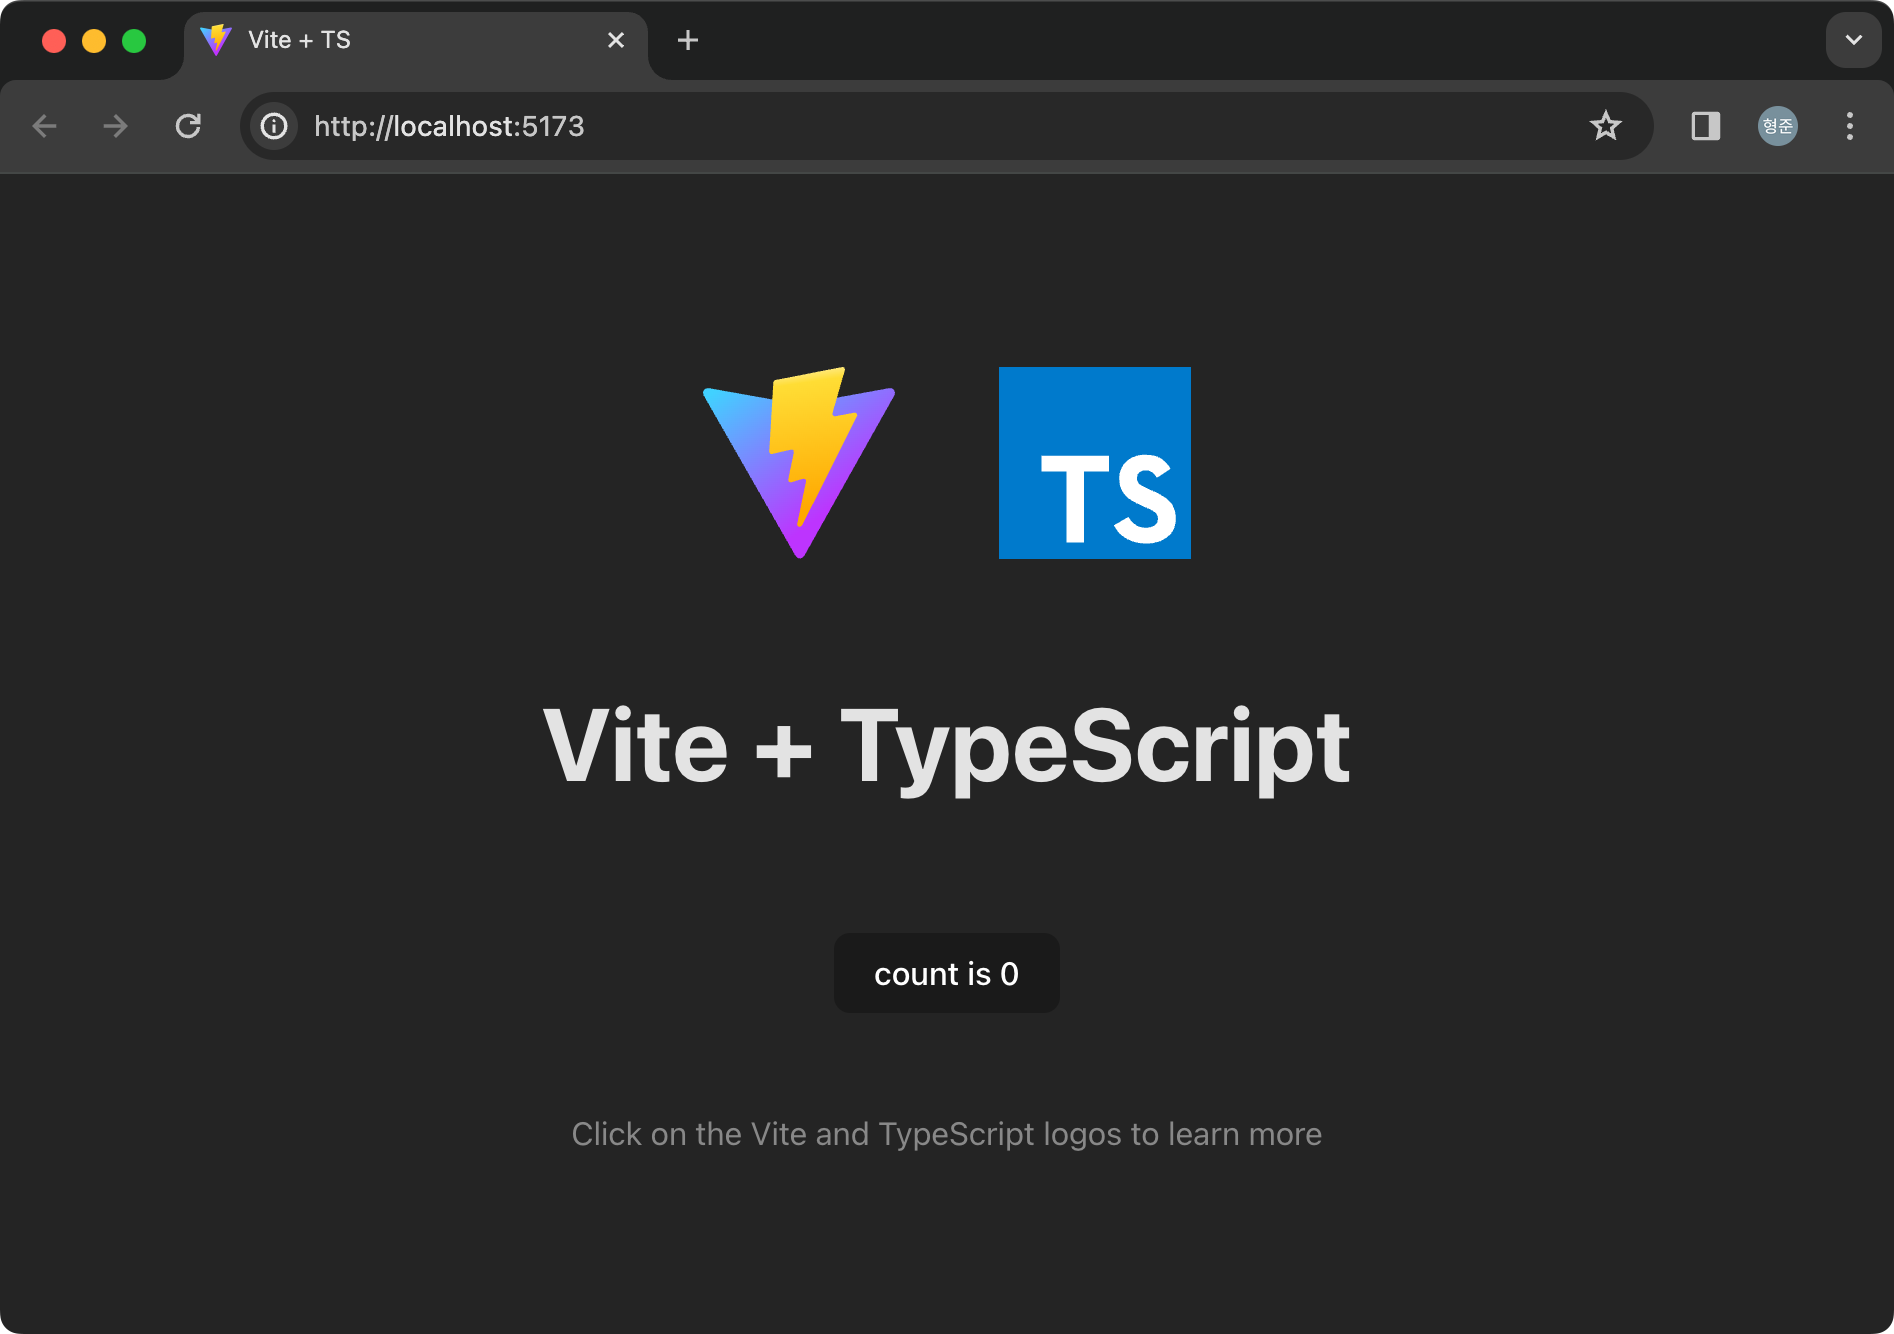
웹브라우저에서 htttp://localhost/5173으로 접속해 보면 다음과 같은 결과를 볼 수 있습니다.
생성된 폴더와 파일을 보면, 먼저 node_modules 폴더에는 개발환경 또는 개발에 필요한 패키지들이 저장됩니다. public 폴더에는 이미지 등과 같은 배포될 리소스 파일이 존재하고 src에는 실제 우리가 코딩할 코드 파일이 위치하게 됩니다. src에 이미 몇가지 파일이 작성되어 있습니다. 그리고 이 index.html은 웹앱이 실행될때 가장 먼저 표시될 홈페이지입니다.
불필요한 내용을 정리하면, 먼저 index.html의 title 내용을 Tic-Tac-Toe로 변경하고 src/vite.svg 파일을 삭제합니다. 그리고 src 폴더에 있는 style.css 파일은 내용을 모두 지우고 파일만 남겨둡니다. counter.ts와 typescript.svg 파일을 삭제합니다. main.ts는 다음처럼 코드를 입력합니다.
import './style.css'
이제 새로운 코드를 작성할 준비가 모두 되었습니다. 다음에는 앞서 살펴본 클래스다이어그램에서 언급된 클래스들을 추가해 웹앱을 완성해 보겠습니다.
이후의 내용은 제 유튜브 채널을 통해 제공됩니다.